How to Unclog a Garbage Disposal (Without Losing Your Mind)
Advertisements
Here’s a fun fact — nearly 50% of plumbing service calls related to kitchen sinks involve a clogged garbage disposal. I know this because I was one of those people who called a plumber for something I could’ve fixed myself in ten minutes. Honestly, it was embarrassing.
If your garbage disposal is backed up, making a weird humming noise, or just sitting there full of standing water, don’t panic. I’ve been there more times than I’d like to admit, and I’m gonna walk you through exactly how to unclog a garbage disposal yourself. Trust me, it’s way easier than you think!
First Things First — Figure Out What’s Going On
Before you shove your hand down the drain (please don’t ever do that), take a second to diagnose the problem. Is the disposal humming but not spinning? That usually means something’s jammed in the blades. If it’s completely silent, the unit might have tripped its internal reset button.
And if water is just sitting in the sink refusing to drain, you’ve likely got a clog somewhere in the drain pipe below the disposal. Each situation calls for a slightly different approach, so knowing what you’re dealing with saves you a ton of frustration.
The Allen Wrench Trick That Saved My Kitchen
So one Thanksgiving — yep, the worst possible timing — my disposal jammed completely. Turkey scraps, potato peels, the whole mess. I was panicking until my neighbor told me about the little hex hole on the bottom of most garbage disposals.
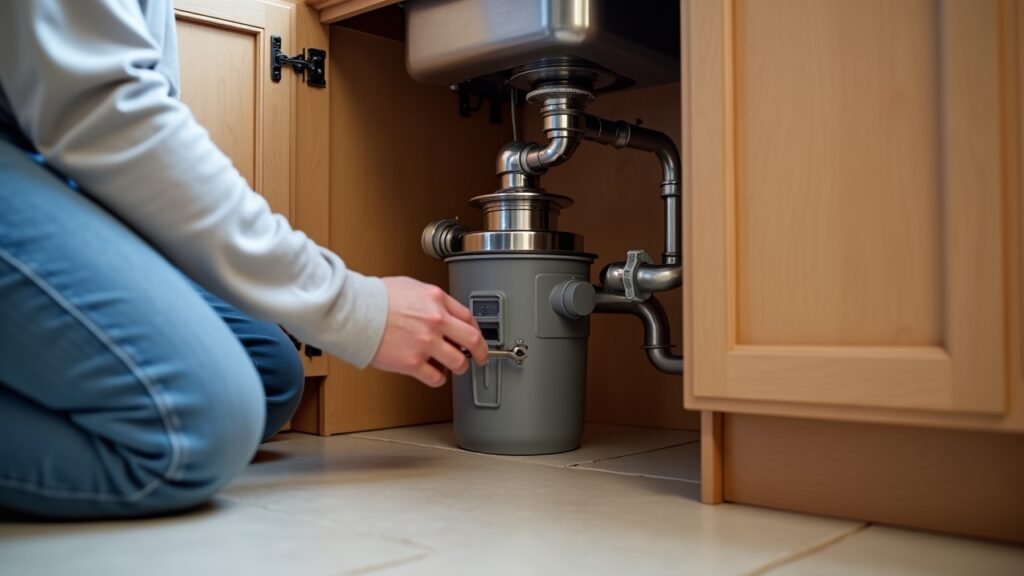
Grab a 1/4-inch Allen wrench and insert it into that hole underneath the unit. Then just work it back and forth to manually rotate the grinding plate and free whatever’s stuck in there. This method works probably 80% of the time, and it literally takes two minutes.
After you’ve loosened the jam, hit the reset button on the bottom of the disposal. Then run cold water and flip the switch. You’ll feel like a genius when it fires right up.
When It’s a Drain Clog, Not a Jam
Now here’s where I messed up once. I kept trying to unjam the blades when the real problem was a clog further down the drain line. The disposal was spinning fine — the water just had nowhere to go.
For this, you wanna try the natural route first. Pour about half a cup of baking soda down the drain, followed by a cup of white vinegar. Let that fizzy combo sit for 15 minutes, then flush it with boiling water. It works surprisingly well for grease buildup and minor blockages.
If that don’t cut it, you might need to use a sink plunger — not a toilet plunger, there’s a difference! Fill the sink with a few inches of water, place the plunger over the drain opening, and give it several firm pumps. The pressure usually does the trick to dislodge whatever’s stuck down there.
Stuff You Should Never Put Down the Disposal
I learned this the hard way. Multiple times, actually. Here’s what to keep out of your garbage disposal:
- Potato peels and starchy foods (they create a paste-like clog)
- Grease and cooking oil
- Coffee grounds (they seem fine but they accumulate fast)
- Fibrous vegetables like celery stalks and corn husks
- Egg shells — despite what your grandma told you, they don’t sharpen the blades
- Bones, fruit pits, or anything super hard
The InSinkErator website has a solid guide on what their disposals can handle. Worth a quick read if you want to avoid future clogs altogether.
A Quick Safety Reminder
Always — and I mean always — make sure the disposal is turned off before you stick anything inside. I use a flashlight and long-nose pliers to pull out visible debris. Never use your fingers, even when you’re sure the power is off. It’s just not worth the risk.
Advertisements
Your Sink Doesn’t Have to Be a Nightmare
Look, a clogged garbage disposal feels like a huge deal in the moment, but it’s usually a pretty simple fix once you know what to do. Keep an Allen wrench handy, avoid putting the wrong stuff down the drain, and you’ll save yourself a lot of headaches — and plumber bills.
Every kitchen is a little different, so adapt these tips to your setup. And if you want more practical home tips like this, head over to the Nook Method blog for more no-nonsense guides that actually help. We’ve got you covered!