Advertisements
Touch Up Paint No Marks: How to Fix Your Walls Like They Were Never Damaged
Here’s a stat that honestly blew my mind — the average homeowner touches up their walls about 3 to 4 times a year. And yet, most of us end up making things look worse than the original scuff! I’ve been there, standing in my hallway with a tiny brush, staring at a patch that somehow looks more obvious than the dent my kid put there with a toy truck.
Getting touch up paint to blend seamlessly — leaving absolutely no marks — is kind of an art form. But it’s one anybody can learn, I promise.
Why Touch Up Paint Usually Looks Terrible
Okay so let me be real with you. The first time I tried touching up a wall in my living room, it looked like I slapped a Band-Aid on it. The color matched perfectly on the swatch, but on the wall? It was a completely different sheen, and the edges were visible from across the room.
The problem usually comes down to three things: wrong application technique, paint that’s aged differently than what’s on the wall, and using the wrong tools. Most people just dip a brush in leftover paint and dab it on, which is basically a recipe for a visible patch. The original wall paint has been exposed to sunlight, dust, and general wear, so even the exact same paint from the same can will look slightly different.
Match Your Paint Perfectly (Or Get Really Close)
First things first — you need the right paint. If you saved the original can, give it a good stir. I mean really stir it, not just a couple of swirls. Paint separates over time and the pigment settles at the bottom.
If you don’t have the original can, cut a small chip from an inconspicuous spot and take it to your local hardware store for color matching. Most places like Sherwin-Williams or Benjamin Moore can scan it and get you pretty darn close. Also, make sure the sheen matches — this is where I messed up that first time. Satin over eggshell sticks out like a sore thumb.
The Tools That Actually Make a Difference
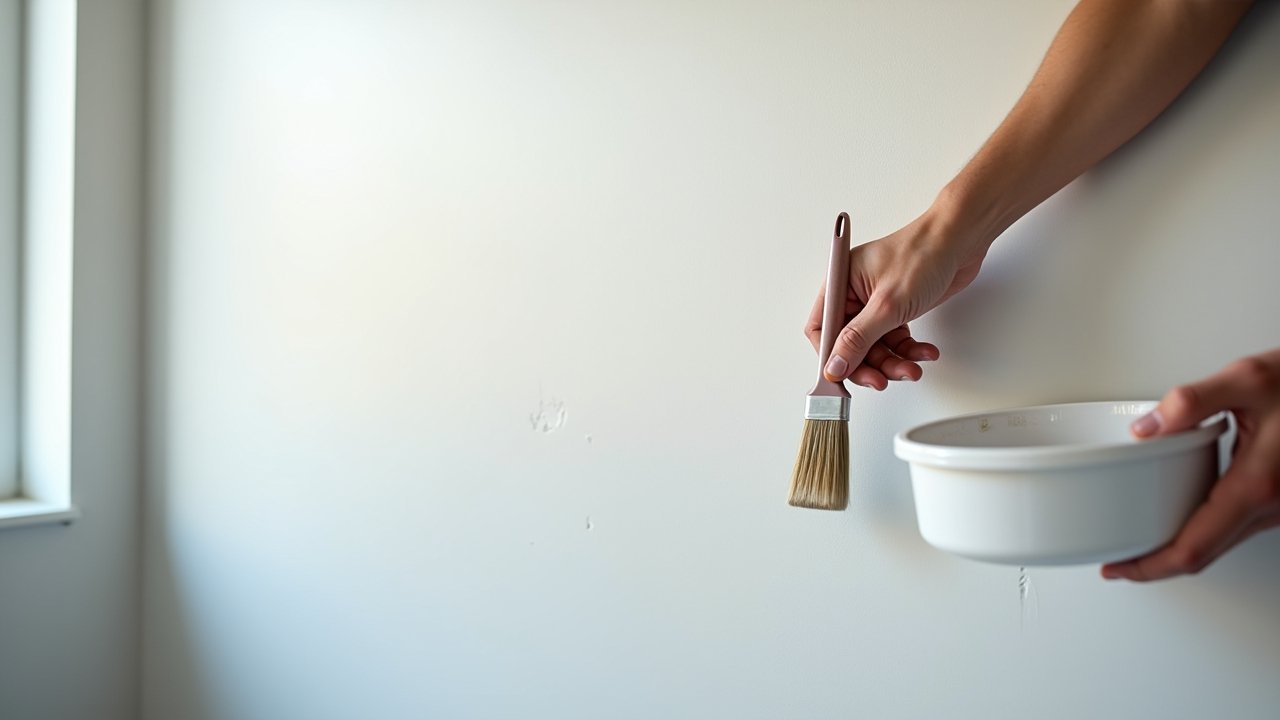
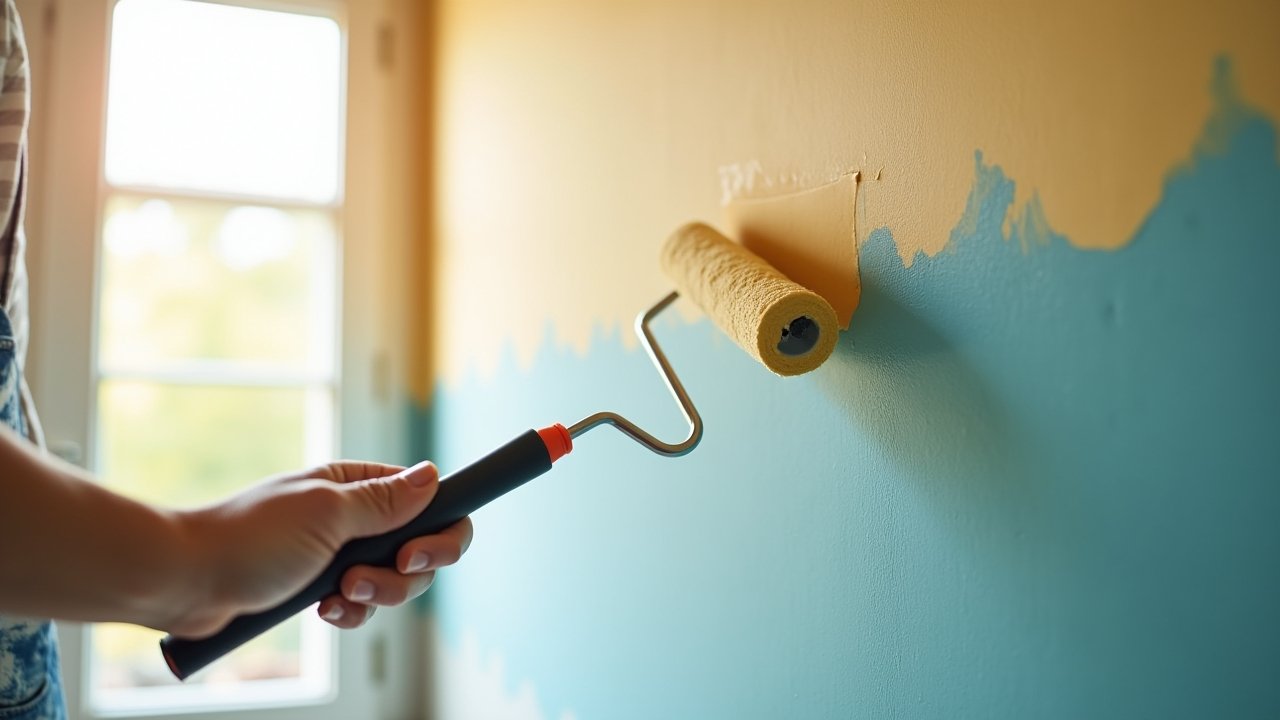
Put down the brush. Seriously. For seamless touch ups, you want a small foam roller or even a mini roller that matches the texture of how your walls were originally painted. Brushes leave stroke marks, and that’s exactly what we’re trying to avoid here.
- Use a 4-inch mini foam roller for smooth walls
- Use a mini nap roller (3/8 inch) for lightly textured walls
- Keep a damp rag nearby for quick cleanup of mistakes
- Have a spray bottle with water to lightly mist the area beforehand
That spray bottle trick was a game changer for me, by the way. Lightly dampening the wall helps the new paint feather into the old paint without creating harsh edges.
The Feathering Technique That Changed Everything
This is the real secret, and I wish someone had told me years ago. Instead of just painting over the damaged spot, you want to feather the paint outward. Apply a thin coat over the mark, then with very light pressure, roll outward past the edges of the touch up area.
You’re essentially blending the new paint into the surrounding old paint so there’s no hard line. Think of it like blending eyeshadow — not that I’m an expert on that either, but you get the idea. Apply multiple thin coats rather than one thick one. Patience is everything here.
Timing and Temperature Matter More Than You Think
Don’t touch up your walls in direct sunlight or when its super humid. Paint dries differently in varying conditions, and that affects how the finish looks. I once touched up my bathroom wall right after a shower — the humidity was still lingering and the patch dried with a slightly different texture. Lesson learned the hard way.
Ideally, work in a room that’s between 50 and 85 degrees Fahrenheit with moderate humidity. And let each thin coat dry completely before adding another.
Advertisements
Your Walls Deserve Better Than Visible Patches
Look, touching up paint without leaving marks isn’t rocket science, but it does take a little know-how and patience. Match your paint and sheen, use the right roller, feather your edges, and respect the drying conditions. Your walls will thank you.
Every home is different though, so don’t be afraid to experiment on an inconspicuous spot first. And if you’re hungry for more practical home tips like this, head over to the Nook Method blog — we’ve got plenty of guides to help you keep your space looking flawless.