Advertisements
How to Stop a Toilet Running Constantly (Without Losing Your Mind)
Here’s a fun little stat for you — a constantly running toilet can waste up to 200 gallons of water per day. Per DAY! I learned that the hard way when my water bill showed up looking like I’d been filling a swimming pool every week.
Look, I’ve been there. That phantom hissing sound at 2 AM that makes you question your sanity. The jiggling of the handle like some kind of bathroom ritual. A running toilet is one of those household problems that seems small but gets real annoying, real fast — and real expensive too.
The good news? You can almost always fix it yourself. No plumber needed. Let me walk you through what I’ve learned after dealing with this nonsense in three different houses.
Why Your Toilet Won’t Stop Running
Before you start ripping things apart, it helps to understand what’s actually going on inside that tank. There’s basically three main culprits when your toilet keeps running after flushing.
- A worn-out flapper valve — This is the rubber seal at the bottom of your tank. When it gets old, it warps and lets water leak into the bowl nonstop.
- A faulty fill valve — This controls the water level in your tank. If it’s busted, water just keeps flowing.
- An improperly adjusted float — The float tells the fill valve when to shut off. If it’s set too high, water spills into the overflow tube and the toilet runs continuously.
Nine times out of ten, it’s the flapper. I remember spending an embarrassing amount of time googling toilet tank parts before I realized the fix was literally a three-dollar piece of rubber. Don’t be like me.
Check the Flapper First
Pop the lid off your toilet tank — don’t worry, that water is clean. Look at the bottom where you’ll see a rubber disc sitting over a drain hole. That’s your flapper.
Press down on it gently while the toilet is running. If the water stops, congratulations, you found your problem! The flapper ain’t sealing properly anymore.
Replacing it is stupid easy. Turn off the water supply valve behind the toilet, flush to drain the tank, then unhook the old flapper and snap a new universal toilet flapper in its place. Took me maybe ten minutes the first time, and that included the five minutes I spent staring at it confused.
Adjusting the Float and Fill Valve
If the flapper looks fine, your water level might be the issue. There should be a mark inside your tank showing the proper water line — usually about an inch below the top of the overflow tube.
If water is pouring into that overflow tube, your float is set too high. On newer toilets, you’ll see a small screw or clip on the fill valve assembly. Just adjust it so the float sits a bit lower. On older models with a ball float on an arm, you can literally bend the metal arm down slightly to lower the water level.
I once cranked mine way too far in the other direction and ended up with a toilet that barely flushed. So, you know, take it slow with the adjustments.
When the Fill Valve Itself Is Shot
Sometimes the whole fill valve assembly needs to go. You’ll know because it hisses, sputters, or just won’t shut off no matter what you do with the float.
Advertisements
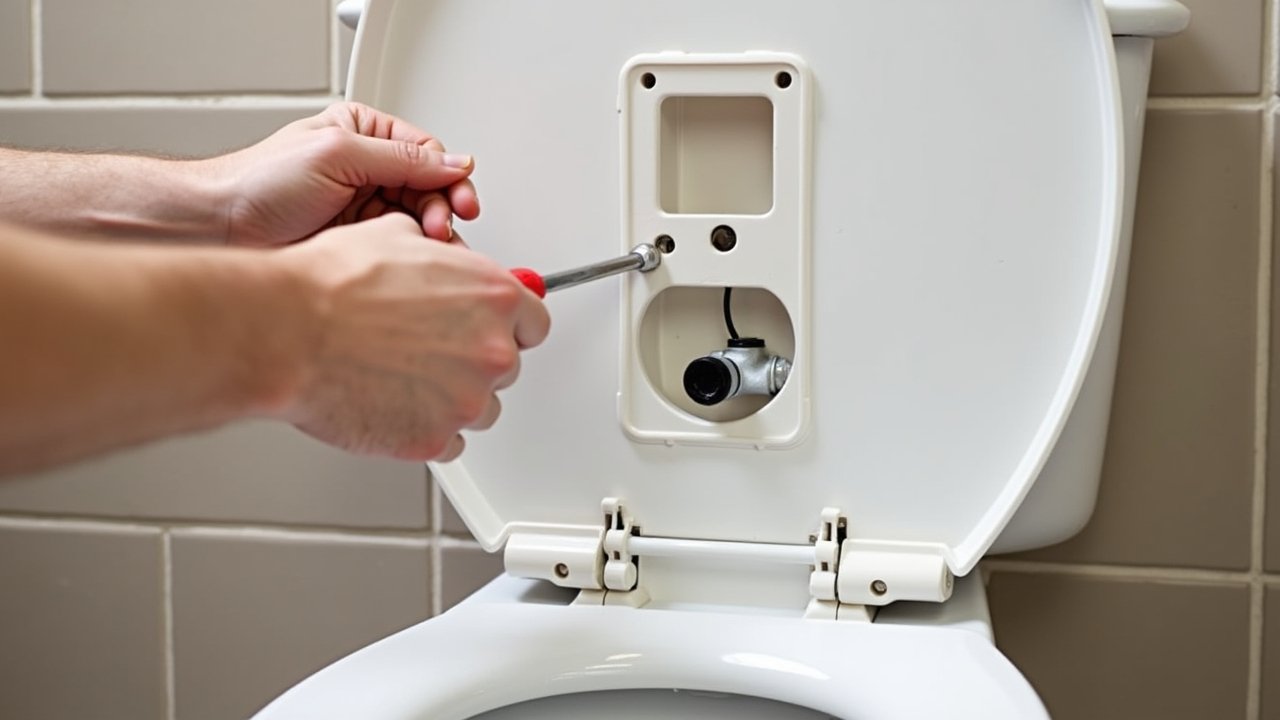
A replacement fill valve kit runs about ten to fifteen bucks and comes with pretty clear instructions. You’ll need to shut off the water, disconnect the supply line, and swap the old valve out. It sounds intimidating but honestly it’s one of those projects where you feel like a total genius afterwards.
I was genuinely proud of myself the first time I did it. Called my wife in to look at it and everything. She was not as impressed as I hoped.
Your Toilet (and Your Wallet) Will Thank You
A constantly running toilet is one of those things that’s easy to ignore but shouldn’t be. The water waste adds up fast, and the fix is almost always cheap and simple. Start with the flapper, check your float, and replace the fill valve if needed.
Just remember to turn off that water supply before you start — I forgot once and, well, let’s just say my bathroom floor got a surprise mopping. If you found this helpful, head over to the Nook Method blog for more practical home tips that won’t make your eyes glaze over!