
Advertisements
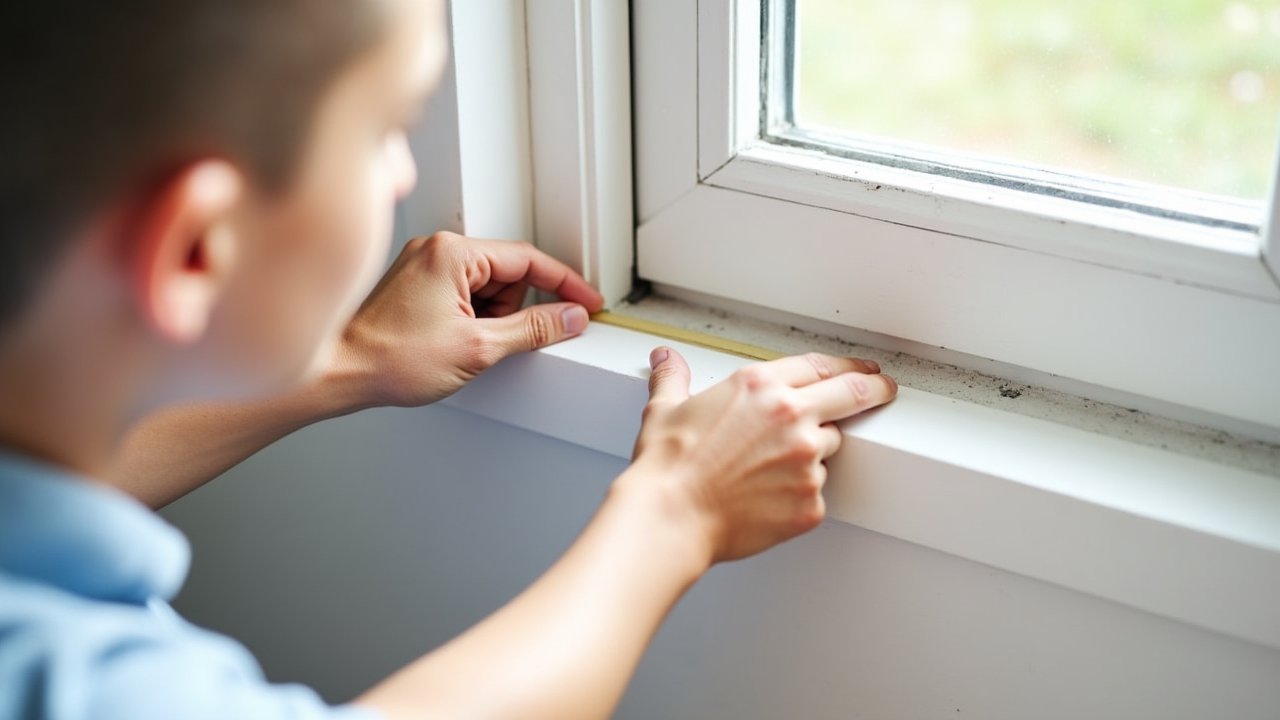
How to Seal Window and Door Gaps (And Stop Throwing Money Out the Window)
Here’s a stat that honestly blew my mind — according to the U.S. Department of Energy, air leaks around windows and doors can account for 25-30% of your heating and cooling energy use. Twenty-five to thirty percent! I learned this the hard way a few winters ago when my energy bill was through the roof and I could literally feel cold air creeping in around my living room window.
Learning how to seal window and door gaps is honestly one of the easiest home improvement projects you can tackle. And it saves you real money. Let me walk you through what I’ve learned from way too many trips to the hardware store.
Why You Shouldn’t Ignore Drafty Windows and Doors
Look, I get it. A little breeze sneaking in doesn’t seem like a big deal. But those tiny air gaps add up fast.
Besides wasting energy and jacking up your utility bills, unsealed gaps invite moisture, dust, and even bugs into your home. I once ignored a small gap under my back door for an entire summer. Let’s just say the ant situation that followed was not cute.
Drafty windows and doors also make your HVAC system work overtime, which shortens its lifespan. So yeah, sealing those gaps is kind of a no-brainer when you think about it.
How to Find Air Leaks Around Your Home
Before you start slapping weatherstripping on everything, you gotta figure out where the leaks actually are. My favorite low-tech trick is the candle test — just light a candle and slowly move it around the edges of your windows and door frames. If the flame flickers or bends, you’ve found a draft.
You can also try the hand test on a windy day. Just run your hand along the edges and feel for cold air. Another option is picking up a thermal leak detector, which is a handy little gadget that highlights temperature differences around your home.
Pay special attention to older windows, sliding doors, and any door that leads outside. These are the usual suspects.
Best Materials to Seal Window and Door Gaps
Alright, here’s where it gets fun. There’s a bunch of different products you can use, and honestly I’ve tried most of them at this point.
- Weatherstripping — This is your go-to for sealing gaps around movable components like door frames and operable windows. Foam tape is cheap and easy but wears out quick. V-strip (tension seal) lasts way longer.
- Caulk — Perfect for sealing stationary gaps and cracks around window frames and door trim. I’m a big fan of silicone-based caulk because it stays flexible and doesn’t crack over time.
- Door sweeps — These attach to the bottom of your door and block that annoying gap between the door and the threshold. A total game changer for exterior doors.
- Expanding foam sealant — Great for larger gaps around window and door frames, but be careful. I once used too much and it expanded right out of the gap and onto my trim. It was not a proud moment.
- Window film kits — A solid temporary solution for drafty windows in winter. You basically shrink-wrap your window with a hair dryer. Looks a little janky but it works.
My Step-by-Step Process for Sealing Gaps
After messing this up a few times, here’s the process that actually works for me. First, clean the surfaces thoroughly — old caulk, dust, and grime will prevent anything from sticking properly.
Next, remove any old weatherstripping or cracked caulk with a putty knife. Then measure your gaps so you know what size materials to buy. Nothing worse than getting home from the store and realizing you grabbed the wrong width of foam tape.
Apply your chosen sealant or weatherstripping carefully, and test the door or window a few times to make sure it still opens and closes smoothly. I once sealed a window so aggressively that it basically got glued shut. Learn from my mistakes, people.
Advertisements
Your Home Will Thank You
Sealing window and door gaps isn’t glamorous, but it’s one of the most impactful things you can do for your home’s comfort and energy efficiency. Every home is different though, so adjust your approach based on the age of your windows, your climate, and your budget.
And always make sure you’re maintaining proper ventilation — you don’t want to seal things up so tight that moisture gets trapped inside. If you found this helpful, head over to the Nook Method blog for more practical tips on making your home work better for you!