
Advertisements
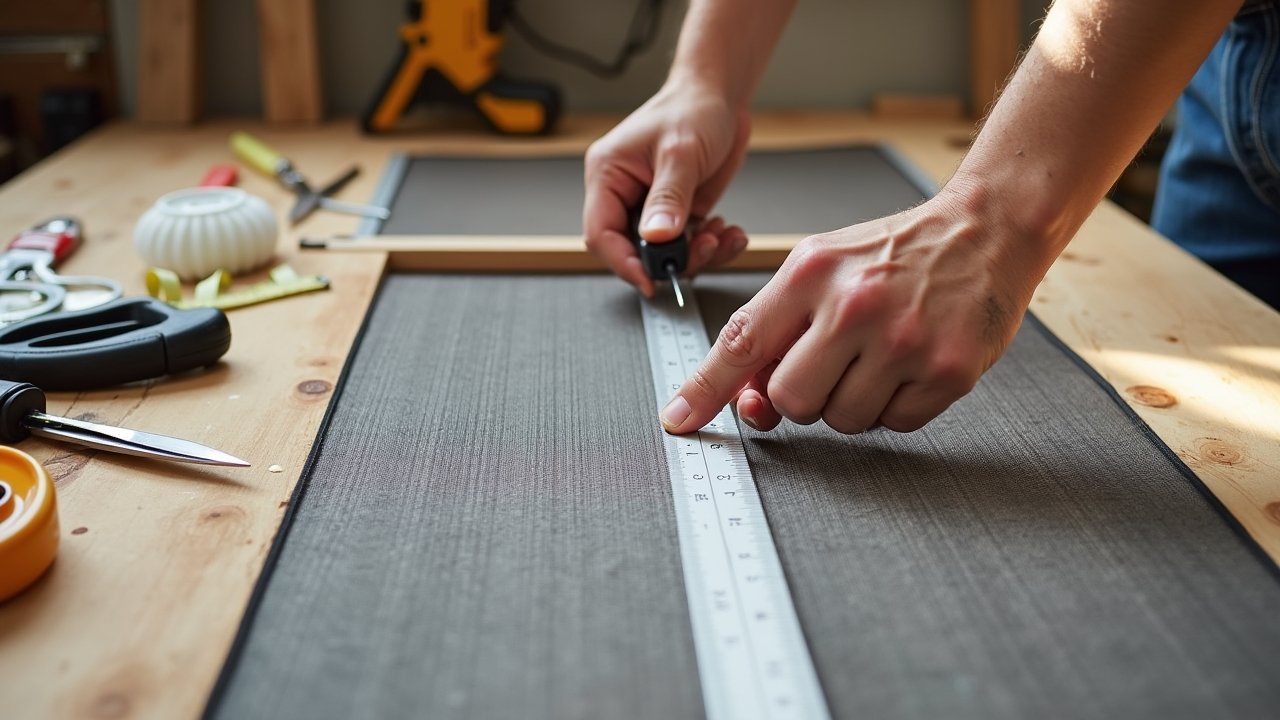
How to Repair a Torn Window Screen (Without Losing Your Mind)
Did you know that a single small tear in a window screen can let in hundreds of mosquitoes overnight? Yeah, I learned that the hard way last summer. I woke up looking like I’d lost a fight with a beehive — and all because I kept putting off a simple screen repair that would’ve taken maybe 20 minutes. So trust me on this one: fixing a torn window screen is worth your time, and it’s way easier than you think!
What You’ll Need Before You Start
First things first — gather your tools. Nothing’s worse than starting a project and realizing halfway through that you’re missing something crucial. I’ve definitely been that person standing in the garage, hands full of screen mesh, searching for scissors I left in the kitchen.
- Replacement screen mesh (fiberglass or aluminum — fiberglass is easier for beginners)
- A screen rolling tool (also called a spline roller)
- New spline cord (the rubber or vinyl strip that holds the mesh in place)
- Scissors or a utility knife
- A flathead screwdriver
- Measuring tape
You can grab most of this stuff at any hardware store or check out Home Depot’s screen repair section online. Honestly, the whole kit usually costs under $20. That’s cheaper than a bug zapper and way more effective.
Assess the Damage First
Before you dive in, take a good look at the tear. Small holes — like under an inch — can often be patched without replacing the whole screen. But if the damage is bigger, or if the mesh is sagging and warped all over, it’s better to just replace the whole thing. Been there, tried to patch a massive tear, and it looked absolutely terrible — like a bad hair day for my window.
Also check the frame. If it’s bent or cracked, no amount of new mesh is gonna fix that underlying problem. A solid frame is everything when it comes to a proper screen repair job.
How to Patch a Small Tear
For tiny holes or small tears, a screen patch kit works like a charm. These kits come with adhesive patches that you just press over the damaged area. It’s not the prettiest fix, but it gets the job done fast — especially mid-summer when the bugs are relentless.
- Clean the area around the tear with a damp cloth
- Cut the patch slightly larger than the hole
- Press it firmly over the tear from the outside
- Smooth out any air bubbles with your fingers
Simple, right? Honestly, this takes about five minutes. And if you line up the mesh pattern carefully, you can barely tell it’s patched at all.
How to Replace the Entire Screen Mesh
Okay, so for bigger damage, here’s the full process. It sounds intimidating, but I promise it’s totally doable — even for someone like me who once “fixed” a shelf that immediately fell off the wall.
- Remove the screen frame from the window
- Use a flathead screwdriver to pry out the old spline cord from the groove around the frame
- Pull out the damaged mesh and toss it
- Cut your new screen mesh a couple inches larger than the frame on all sides
- Lay the new mesh over the frame and use the spline roller to press the spline cord into the groove, starting at one corner
- Work your way around the frame, keeping the mesh taut as you go (this part takes a little patience)
- Trim the excess mesh with a utility knife once the spline is fully secured
The key here is keeping the mesh tight. If you let it go slack, you’ll end up with a wavy, saggy screen that just looks bad. Family Handyman has a great visual guide if you want to see this step by step with photos.
Your Screens Deserve a Little Love Too
Repairing a torn window screen is one of those small home maintenance tasks that makes a surprisingly big difference — better airflow, fewer bugs, and honestly, a better-looking home overall. Don’t let a little tear turn into a full-on bug invasion like I did! Whether you patch it or replace the whole mesh, you’ve got this.
Just remember to work safely — utility knives are sharp, so take your time with the trimming step. And every home is different, so feel free to adapt these tips to fit your specific window frame or screen type. Want more practical home tips like this one? Head over to Nook Method — there’s a whole lot more where this came from!

Advertisements