Advertisements
Why I Chose to Reglaze My Bathtub Instead of Replacing It (And You Should Too)
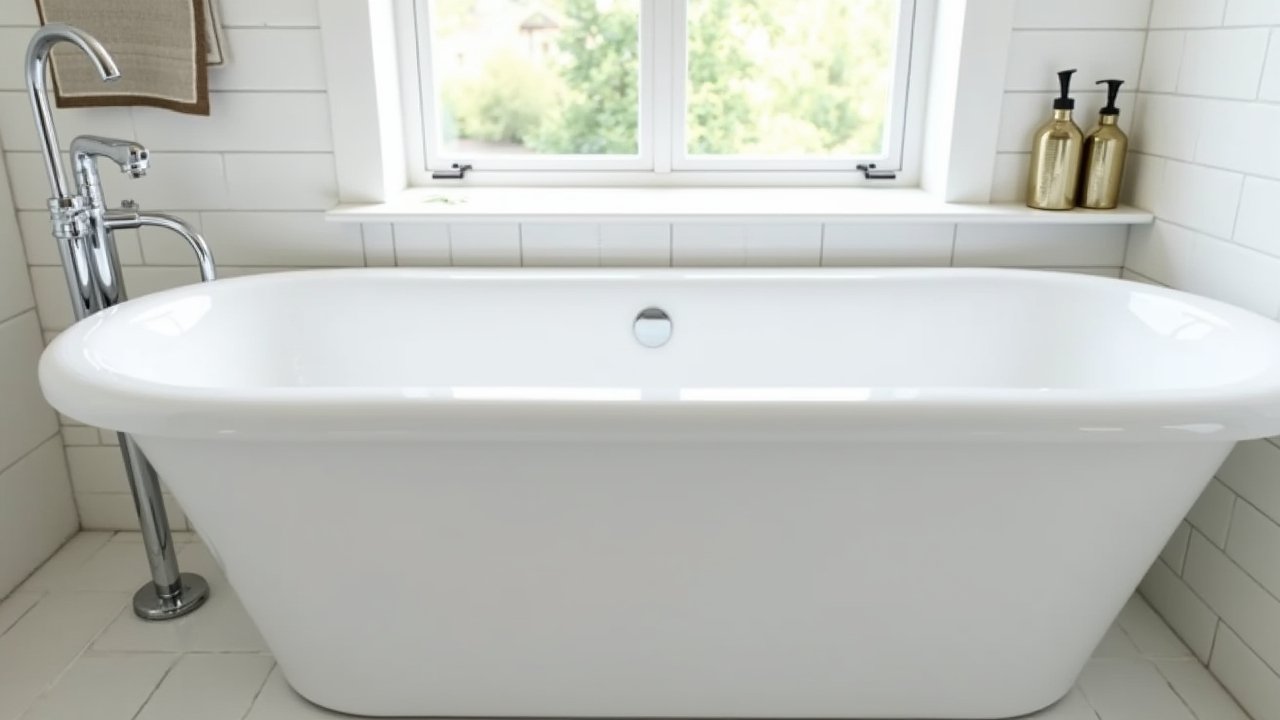
Did you know that replacing a bathtub can cost anywhere between $1,000 and $5,000, depending on the materials and labor? Yeah, I almost fell off my chair when I got that first quote. I had a beat-up, stained tub that looked like it had seen better days — we’re talking yellowish finish, a few chips near the drain, and that gross grayish ring that just won’t scrub off no matter what you do. So when a contractor told me I could reglaze my bathtub instead of replacing it for a fraction of the cost, I was all ears.
What Does It Mean to Reglaze a Bathtub?
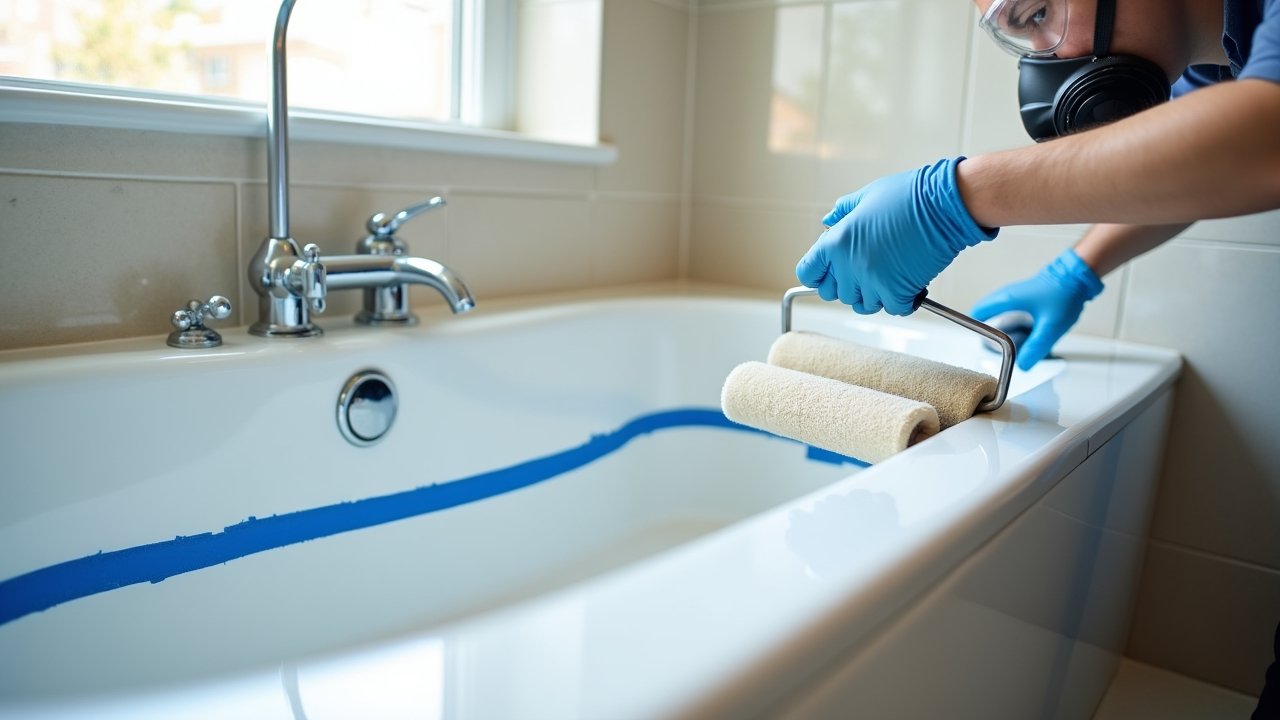
Bathtub reglazing — also called bathtub refinishing or resurfacing — is basically a process where a professional (or a brave DIYer) applies a new coating over your existing tub. Think of it like repainting a wall, but way more technical and with way stronger fumes. The old surface gets cleaned, repaired, primed, and then sprayed with a bonding coating that hardens into a fresh, glossy finish.
According to Bob Vila, reglazing can restore a tub to near-original condition and typically lasts 10 to 15 years if properly maintained. That blew my mind, honestly. I thought my tub was a lost cause.
The Real Cost Comparison
Let me break this down real quick, because this is where things get interesting.
- Bathtub replacement: $1,000 – $5,000+ (including demo, materials, and labor)
- Bathtub reglazing: $300 – $600 on average for professional service
- DIY reglazing kit: $30 – $150, though results vary a lot
I went with a professional reglazing service and paid around $450. Honestly? Best money I’ve spent on this house. The whole job took about 5 hours, and I was told to stay off the tub for 24 to 48 hours after. Easy enough — I just used the guest shower and called it a mini vacation.
Why Reglazing Makes More Sense Than Replacing
Here’s the thing — replacing a bathtub isn’t just expensive. It’s also a massive disruption. You’re talking about demo work, possible tile damage, plumbing adjustments, and days without a functioning bathroom. I’ve been through a bathroom renovation before and trust me, it’s a whole ordeal.
Reglazing, on the other hand, is minimally invasive. No demolition, no mess (well, not much), and no waiting weeks for new fixtures to arrive. Plus, it’s a more eco-friendly option since you’re not sending a perfectly functional tub to a landfill. According to the EPA, reducing waste in home renovations is one of the easiest ways homeowners can make a greener impact.
Things I Learned the Hard Way
Okay, storytime. The first time I tried to reglaze a tub myself — at a rental property I used to manage — I used a cheap DIY kit and didn’t prep the surface properly. The coating started peeling within three months. Three months! I wanted to scream.
So here are some tips I picked up from that disaster:
- Always clean and sand the surface thoroughly before applying any coating.
- Use proper ventilation. The chemicals involved in bathtub refinishing are no joke — open windows, wear a respirator mask, and take breaks outside.
- Let it cure fully. Don’t rush. I know 48 hours feels like forever, but cutting it short means peeling finishes and wasted money.
- Hire a pro if you’re unsure. For most people, professional bathtub resurfacing is worth every penny.
How Long Does a Reglazed Tub Actually Last?
If you take care of it, a professionally reglazed tub can last 10 to 15 years. The key is using non-abrasive cleaners — no scrubbing pads, no harsh chemicals. I personally use a simple mix of dish soap and warm water, and my tub still looks great two years later.
You can check out this helpful guide from This Old House for more detail on maintenance best practices after reglazing.
So, Is It Worth It?
Without a doubt — yes. If your tub is structurally sound but just looks rough, reglazing is a smart, budget-friendly alternative to full replacement. It saves money, saves time, and honestly, saves your sanity.
Advertisements
Just make sure you’re working with a reputable professional, using safe products, and following the aftercare instructions to the letter. A little patience goes a long way here. And hey, if this got you thinking about other ways to refresh your home without breaking the bank, there’s plenty more where this came from — head over to Nook Method and explore more practical home tips written by people who’ve actually been in the trenches. You won’t regret it!