Advertisements
So there I was, staring at a fist-sized hole in my living room wall. My kid’s doorknob had swung open one too many times, and boom—instant disaster. I’m gonna be honest with you, I panicked a little at first. But patching a drywall hole turned out to be way easier than I thought!
Whether you’re dealing with a tiny nail hole or something more dramatic like mine, this is totally a DIY-friendly fix. You don’t need to call a contractor and shell out hundreds of bucks. Trust me on this one.
Gather Your Supplies First
Before you start anything, get your materials together. Nothing’s worse than being elbow-deep in joint compound and realizing you forgot something. Been there, done that, got the messy t-shirt.
- Drywall patch kit or mesh tape
- Joint compound (also called mud)
- Putty knife or drywall knife
- Sandpaper (120-150 grit works great)
- Primer and paint
For smaller holes, a self-adhesive drywall patch is your best friend. These little guys have saved me so many times.
Small Holes vs. Large Holes: Know the Difference
Here’s the thing—not all drywall damage is created equal. A nail hole needs a completely different approach than that doorknob disaster I mentioned earlier. Small holes under an inch can usually be filled with just spackle or lightweight joint compound.
For medium holes (think 1-6 inches), mesh tape patches work wonders. Anything bigger than that? You’re looking at cutting out a section and installing an actual piece of drywall. Don’t worry though, it sounds scarier than it is.
The Step-by-Step Process That Actually Works
Okay, let me walk you through exactly what I do when I’m repairing drywall holes. I’ve probably patched like twenty of these things over the years, so I’ve got the routine down.
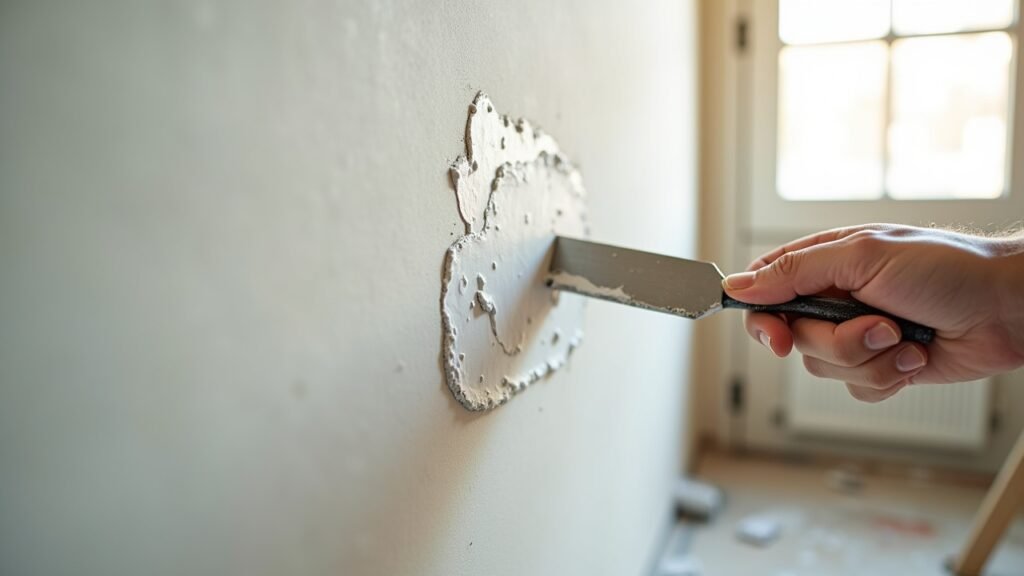
First, clean up the damaged area. Remove any loose drywall paper or crumbling edges with your putty knife. This part’s kinda satisfying actually. You want a clean surface for the patch to stick to properly.
Next, apply your patch. If you’re using a self-adhesive mesh patch, just center it over the hole and press firmly. For larger repairs, you might need to cut a piece of drywall to fit and secure it with a California patch technique or drywall clips.
The Mudding Stage: Where Patience Pays Off
This is where I used to mess up constantly. I’d slather on way too much joint compound and create this obvious bulge on my wall. Less is more, friends!
Apply a thin coat of mud over the patch, feathering the edges outward. Let it dry completely—usually overnight, though I’ve been impatient and suffered the consequences. Then sand it smooth and apply another thin coat if needed.
Three thin coats beats one thick coat every single time. I learned that the hard way after having to sand down a lumpy mess that looked like a tumor growing out of my hallway wall.
Finishing Touches That Make All the Difference

Once your final coat is dry and sanded smooth, run your hand over the repair. It should feel flush with the surrounding wall. If you can still feel edges, hit it with one more light sanding.
Advertisements
Prime the area before painting! I skipped this step once and the repair was visible for like two years because the texture was different. A good primer like Kilz 2 seals everything nicely.
For a helpful visual guide, check out this tutorial that walks through the whole process:
How to Patch a Hole in Drywall – YouTube
You’ve Totally Got This
Honestly, drywall hole repair is one of those skills that’ll save you money forever. Once you do it a few times, you’ll feel like a total home improvement warrior. Just remember to take your time with the mudding and don’t skip the primer.
Got more home repair questions or want to tackle another project? Head over to Nook Method for more guides that’ll turn you into a DIY master. Happy patching!