Advertisements
How to Install Floating Shelves Safely (Without Destroying Your Walls Like I Did)
Here’s a fun stat for you — roughly 30% of DIY shelf installations fail within the first year because they weren’t mounted properly. I know this because I was part of that 30% back in 2019. I came home to find my “beautiful” floating shelf on the floor, surrounded by broken mugs and a pile of drywall dust. Not exactly the Pinterest moment I was going for!
Learning to install floating shelves safely is one of those skills that sounds simple but can go sideways fast. Trust me, getting it right matters — not just for your walls, but for your stuff and anyone walking underneath. So let me walk you through everything I’ve learned the hard way.
First Things First: Know Your Wall
This is where most people mess up, myself included. Before you even think about grabbing a drill, you need to figure out what your wall is made of. Drywall, plaster, concrete, brick — each one requires a totally different approach.
I cannot stress this enough: buy a stud finder. The first time I hung shelves, I just kinda guessed where the studs were by knocking on the wall like some kind of wall-whisperer. Spoiler alert — I was wrong. A basic electronic stud finder costs like fifteen bucks and will save you a world of heartache.
If you’re mounting into drywall without studs, you’ll need heavy-duty wall anchors. But honestly? Mounting into studs is always the safest bet, especially if you plan on putting anything heavier than a couple of picture frames on those shelves.
Picking the Right Hardware
Not all floating shelf brackets are created equal. Some of those cheap kits from discount stores come with hardware that’s basically decorative. You want solid steel mounting brackets or a French cleat system for heavier loads.
Here’s what I recommend based on weight capacity:
- Light items (under 15 lbs): Standard floating shelf brackets with drywall anchors can work.
- Medium loads (15-30 lbs): Mount directly into wall studs using lag screws or heavy-duty toggle bolts.
- Heavy loads (30+ lbs): Use a French cleat or heavy-duty concealed bracket system anchored into studs.
One mistake I made was using the screws that came in the box without checking their length. They were way too short for my thick plaster walls. Always double-check that your screws are long enough to penetrate at least 1.5 inches into the stud itself.
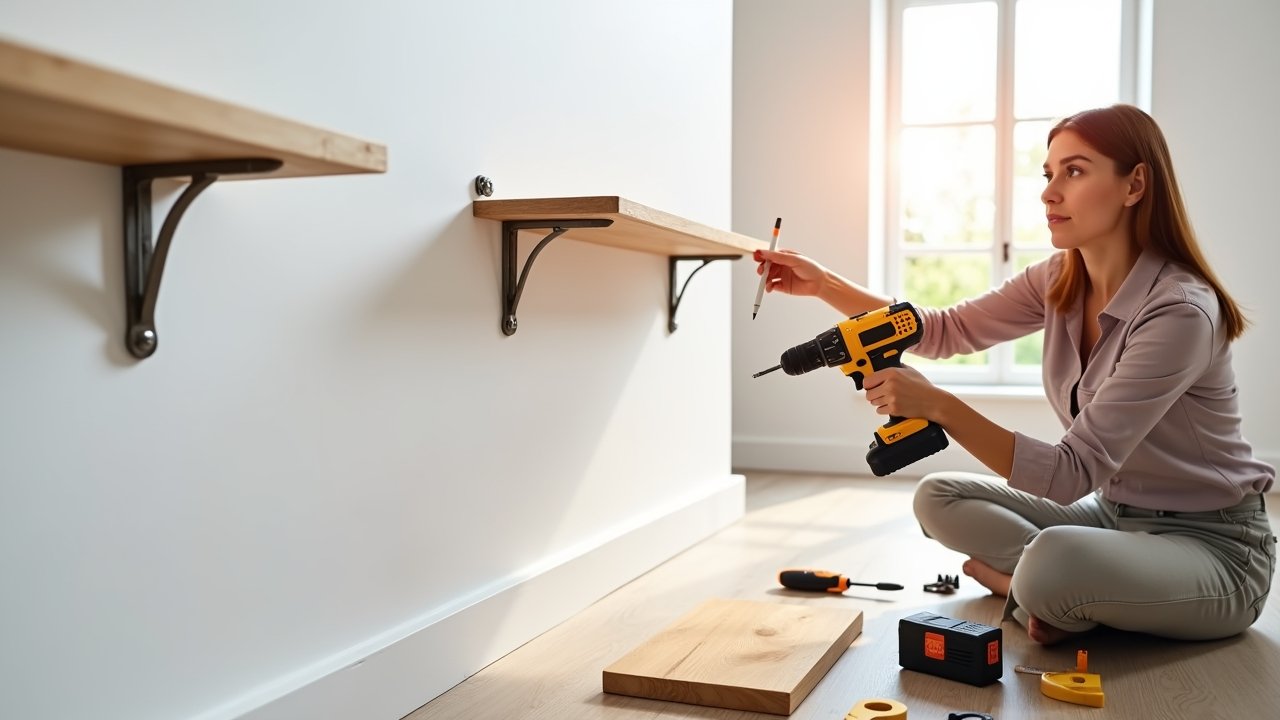
The Actual Installation Process
Alright, here’s where we get into it. Grab a level, a pencil, your drill, and the right drill bits. Oh, and a friend doesn’t hurt — someone to hold stuff while you mark and measure.
Start by marking where you want the shelf with painter’s tape. This lets you visualize the placement before you commit any holes. I learned this trick after drilling three unnecessary holes in my living room wall because I kept changing my mind.
Use your stud finder to locate and mark the studs. Then hold your bracket or mounting plate against the wall, place the level on top, and mark your drill points with a pencil. Seriously, do not skip the level step. A shelf that’s even slightly off looks terrible — your eyes will catch it every single time you walk by.
Pre-drill your pilot holes. This is especially important for hardwood studs or plaster walls because without a pilot hole, you risk splitting the wood or cracking the plaster. Then drive in your screws, mount the bracket, and slide the shelf on.
Advertisements
Don’t Forget the Weight Test
Before you load up your new shelf with books or that vintage record collection, do a weight test. I gradually add weight over a day or two, checking for any signs of sagging or the bracket pulling away from the wall. It’s kinda tedious but way better than another shelf-on-the-floor situation.
The Consumer Product Safety Commission actually recommends securing heavy shelving units and furniture to prevent tip-over accidents, especially in homes with kids. So this isn’t just about aesthetics — it’s a real safety thing.
Your Walls Will Thank You
Installing floating shelves safely really comes down to three things: knowing your wall type, using the right hardware, and taking your time with leveling and weight distribution. Skip any of these and you’re basically rolling the dice.
Every home is different though, so adapt these tips to your specific situation. And please, if you’ve got kids or pets, always err on the side of over-engineering your mounts. Better too secure than not secure enough.
If you found this helpful, head over to Nook Method for more practical home improvement guides that won’t make your eyes glaze over. We’ve got plenty of tips to help you make your space both beautiful and safe!