
Advertisements
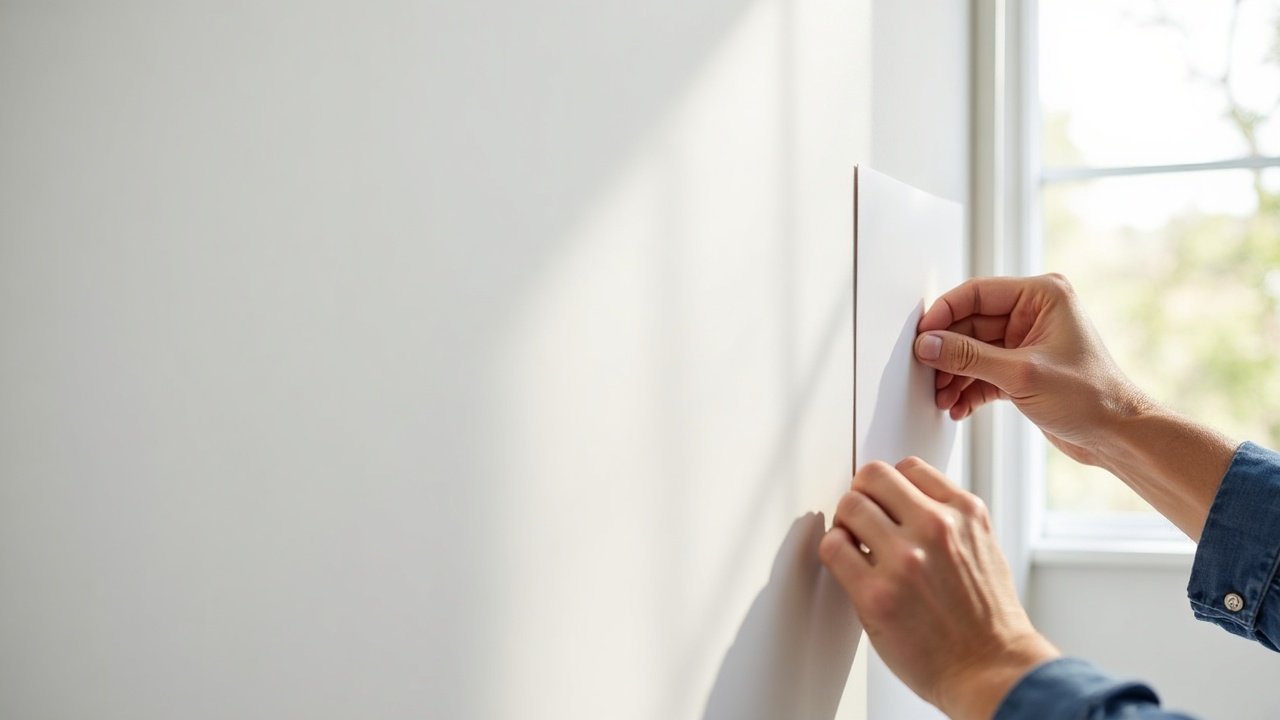
Did you know that the average renter loses a significant chunk of their security deposit over wall damage? Yeah, nail holes and scuff marks add up fast. I learned this the hard way after moving out of my first apartment — the landlord handed me a bill that made my stomach drop. Ever since then, I’ve been on a mission to hang pictures without damage, and honestly? It’s way easier than most people think.
Why Damage-Free Hanging Actually Matters
Whether you’re renting or you just bought your dream home, walls are a big deal. Putting random nails everywhere without a plan is something I used to do all the time, and let me tell you — it looked chaotic AND left marks everywhere. The good news is that there are so many smart alternatives out there now that protect your walls while still letting you show off your art, photos, and decor like a pro.
The Best Tools to Hang Pictures Without Damaging Walls
Let’s get into the actual stuff that works. These are the methods I’ve personally tested, some with great results and one or two with minor disasters along the way.
Adhesive Strips and Hooks
This is my absolute go-to. Command Strips by 3M are basically magic for lightweight frames and small prints. You press them onto a clean, dry wall, wait an hour, and hang your picture — no nails, no drama. The key thing most people miss is following the weight limit on the package, because I once tried to hang a heavier frame with strips meant for something lighter and — yeah, it fell at 2am and scared the daylights out of me.
Adhesive Putty
Adhesive putty, sometimes called mounting putty or tack, is perfect for super lightweight items like paper prints or small canvases. It’s removable, reusable, and leaves basically zero residue if removed correctly. I keep a pack in my desk drawer at all times — it’s just that useful.
Picture Hanging Strips for Heavier Frames
For medium to heavier frames, look for heavy-duty adhesive hanging strips that are specifically rated for the weight of your piece. Brands like Gorilla Mounting Tape offer stronger hold without the need for drilling. Always, and I mean always, clean your wall surface with rubbing alcohol before applying — this one simple step makes a huge difference in how long it holds.
Pro Tips I Wish Someone Had Told Me Earlier
- Measure twice, stick once. Use painter’s tape to mock up your gallery wall layout on the floor first before committing to the wall. Saves so much frustration.
- Let adhesives cure. Most adhesive products need at least 30–60 minutes to bond properly before you load them with weight. Rushing this step is where most people go wrong.
- Use a level. A cheap bubble level or even a free app on your phone can save you from that one crooked frame that drives you crazy every time you look at it.
- Check your wall type. Adhesives work best on smooth, painted drywall. Textured walls, brick, or wallpaper can be tricky — always check the product’s surface compatibility before buying.
- Remove strips slowly and carefully. Pull the tab straight down at a slow, steady pace — not outward — to avoid peeling paint. This is the step people rush and then regret.
What About Heavier Artwork?
Okay, so here’s where it gets a little more nuanced. If you’ve got a large mirror or a really heavy canvas — we’re talking over 16 pounds — adhesive strips alone probably aren’t your safest bet. In those cases, I’d recommend using a single small nail driven into a wall stud, which causes minimal damage and provides a solid anchor point. A stud finder is cheap and totally worth it for situations like these. One small nail hole is so much easier to patch than a fallen frame that took half the drywall with it — trust me on this one.
Your Walls Deserve a Little TLC Too
At the end of the day, hanging pictures without damage is really about being a little more intentional. It doesn’t take much extra effort, and the payoff — both for your walls and your wallet — is totally worth it. Whether you’re renting and trying to keep that deposit intact, or you’re a homeowner who just wants clean walls you can change up anytime, these methods genuinely work.
Take your time, use the right tools for the right job, and don’t skip the prep steps. And hey, if you’re looking for more practical home tips just like this one, come hang out with us over at Nook Method — there’s a whole lot more where this came from!