
Advertisements
How to Fix Window Screen Holes: A Simple Guide That Actually Works
Did you know that a single torn window screen can let in hundreds of mosquitoes in just one night? Yeah, I learned that the hard way last summer. I had this tiny hole — barely the size of a quarter — in my bedroom screen, and by morning I looked like I’d been personally attacked by every bug in the neighborhood. Not fun.
Fixing window screen holes is one of those home repairs that sounds intimidating but is honestly pretty simple once you know what you’re doing. And the best part? You don’t need to be a handyman to pull it off. Trust me, if I can do it, you definitely can.
What You’ll Need Before You Start
Before diving in, let’s talk supplies. Having the right tools makes this whole process way less stressful. I once tried to patch a screen with just tape and wishful thinking — spoiler alert, it didn’t work.
- Screen patch kit (available at most hardware stores like Home Depot)
- Scissors or a utility knife
- Clear waterproof adhesive or screen repair tape
- A replacement screen mesh (for larger holes)
- A spline roller tool (if you’re doing a full screen replacement)
- Rubber spline material
For small holes — think pencil-eraser size — a patch kit or even clear nail polish will honestly do the trick. Bigger holes, though, are gonna need a little more effort. Don’t skip on quality materials; cheap mesh tears again faster than you’d expect.
How to Fix Small Holes in a Window Screen
Small holes are the easiest to deal with, and there’s no reason to overthink it. Here’s what I do when I spot one of those annoying little gaps.
- Clean the area first. Use a damp cloth to wipe around the hole. Dirt and dust will mess with adhesion.
- Apply clear nail polish or screen repair adhesive. For tiny holes, dab a small amount directly onto the damaged area. Let it dry completely.
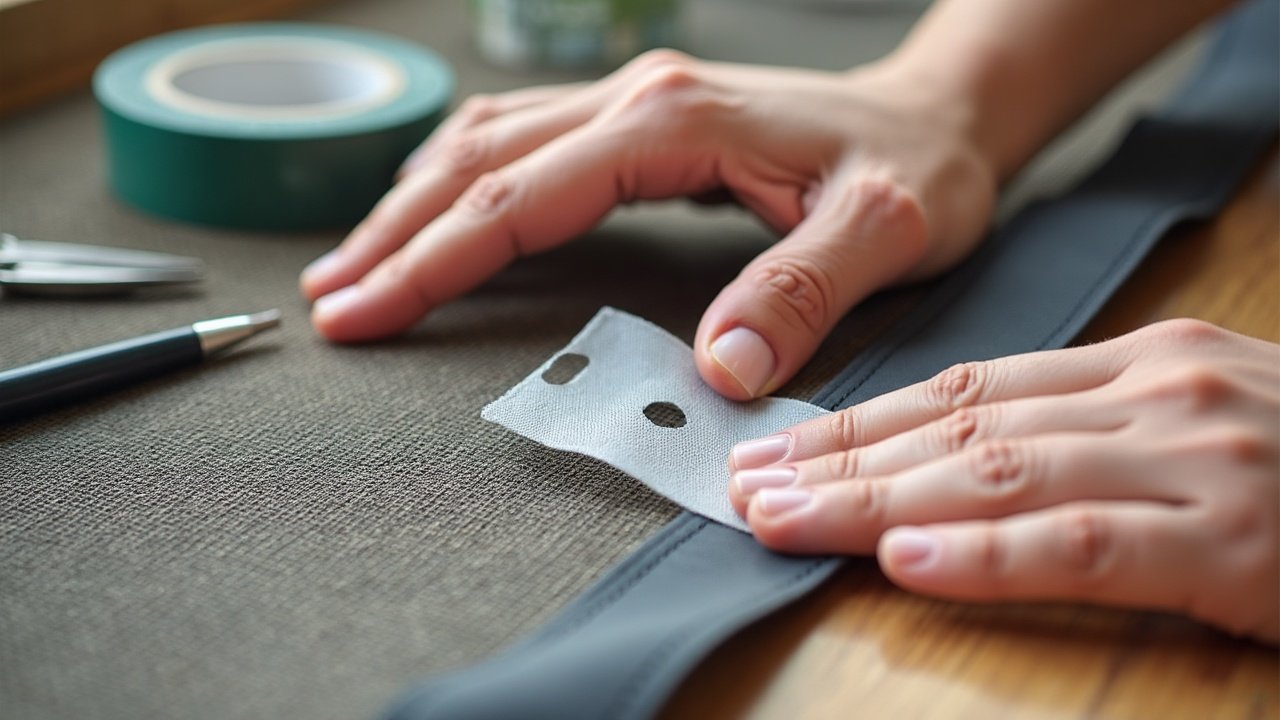
- Use a self-adhesive patch for medium holes. Cut the patch slightly larger than the hole, press it firmly on both sides of the screen, and smooth out any bubbles.
Honestly, the nail polish trick was something my neighbor showed me years ago, and I thought she was joking. She wasn’t. It works surprisingly well for pinhole-sized damage, and it’s practically invisible once it dries. Game changer!
How to Fix Large Holes in a Window Screen
Okay, so bigger holes require a bit more patience. I’m not gonna sugarcoat it — the first time I replaced a full screen mesh, I messed up the spline and had to redo it twice. But once you get the hang of it, it’s actually pretty satisfying.
- Remove the screen from the window frame. Most screens just pop out with gentle pressure.
- Take out the old spline. Use a flathead screwdriver to carefully pry it out from the groove around the frame. Check out this guide from Family Handyman for a great visual walkthrough.
- Cut the new mesh to size. Leave about an inch of extra material on all sides.
- Roll the new spline into the groove. Use your spline roller tool and work your way around the frame. Keep the mesh taut as you go — loose mesh looks terrible and sags over time.
- Trim the excess mesh. Use your utility knife carefully along the outer edge of the spline groove.
Take your time with the corners — that’s where most people (including me, more than once) mess things up. Go slow, and you’ll be fine.
Pro Tips to Make Your Repair Last Longer
A few extra things I’ve picked up over the years that make a real difference in how long your screen repair holds up.
- Choose fiberglass mesh over aluminum — it’s more flexible and won’t crease as easily.
- Keep pets away from repaired screens for at least 24 hours while adhesives fully cure.
- Inspect your screens every spring so small holes don’t turn into big ones over the summer.
- Store extra screen mesh in a cool, dry place for future quick fixes.
Keep the Bugs Out — It’s Worth It
At the end of the day, knowing how to fix window screen holes saves you money, keeps your home comfortable, and honestly gives you that little confidence boost of handling something yourself. Whether it’s a tiny pinhole or a full mesh replacement, you’ve got the tools and know-how now to tackle it. Just remember to work safely — especially when using utility knives — and always choose quality materials over the cheapest option on the shelf.
Got a taste for DIY home fixes? Head over to Nook Method’s blog for more practical guides just like this one. There’s always something new to learn, and your home will thank you for it!

Advertisements