Advertisements
Did you know that a single dripping faucet can waste over 3,000 gallons of water per year? That’s basically like flushing money down the drain! I learned this the hard way when my water bill shot up by thirty bucks one month, all because I kept ignoring that annoying drip-drip-drip in my kitchen sink.
Look, I get it. Calling a plumber feels easier than tackling it yourself. But trust me, fixing a leaky faucet is one of those DIY tasks that’s way less scary than it seems. Plus, you’ll feel like an absolute champion when you’re done!
Why Your Faucet is Probably Leaking
Before we dive into the repair, let’s figure out what’s actually going on. In my experience, most leaky faucets come down to a few common culprits. Worn-out washers are usually the main offender, especially in compression faucets.
Sometimes it’s a corroded valve seat or damaged O-rings causing all the drama. I once spent an hour convinced my faucet handle was possessed before realizing the cartridge just needed replacing. Super embarrassing, honestly.
The type of faucet you have matters too. You might be dealing with a ball faucet, cartridge faucet, or ceramic disc faucet. Each one has its own quirks when it comes to repairs.
Gathering Your Tools and Supplies
Alright, here’s what you’ll need before getting started:
- Adjustable wrench
- Screwdrivers (both flathead and Phillips)
- Replacement washers or cartridge
- Plumber’s grease
- Towels or rags
- A bucket or bowl
I always recommend picking up a faucet repair kit from your local hardware store. They’re cheap and usually contain everything you need for most common fixes.
Step-by-Step: Actually Fixing the Darn Thing
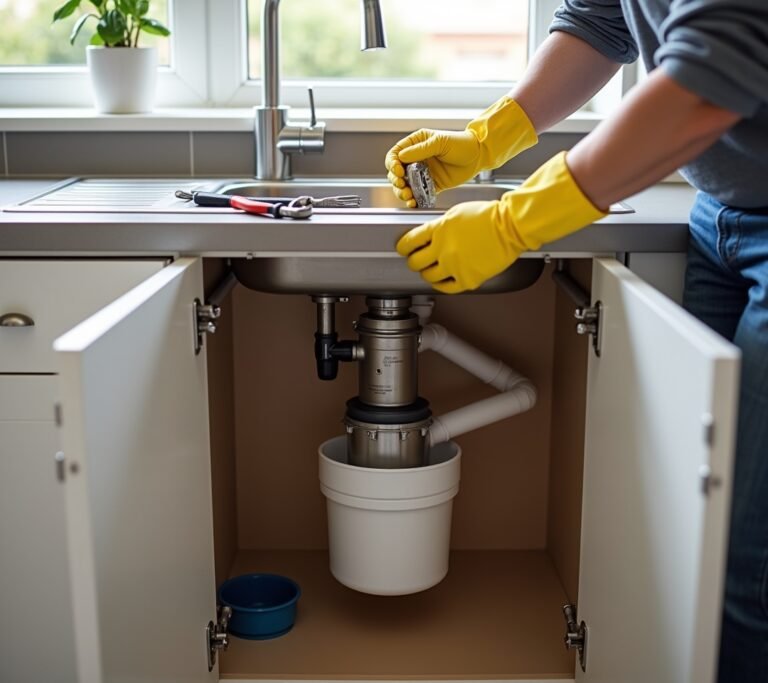
First things first, turn off the water supply valves under your sink. I cannot stress this enough! I made the rookie mistake of skipping this step once and ended up with water spraying everywhere like a cartoon disaster.
Next, plug the drain with a rag so you don’t lose any small parts. Those tiny screws love disappearing into the abyss. Ask me how I know.
Remove the decorative cap on the faucet handle if there is one. Then unscrew the handle screw and gently pull off the handle. You might need to wiggle it a bit if its been stuck there for years.
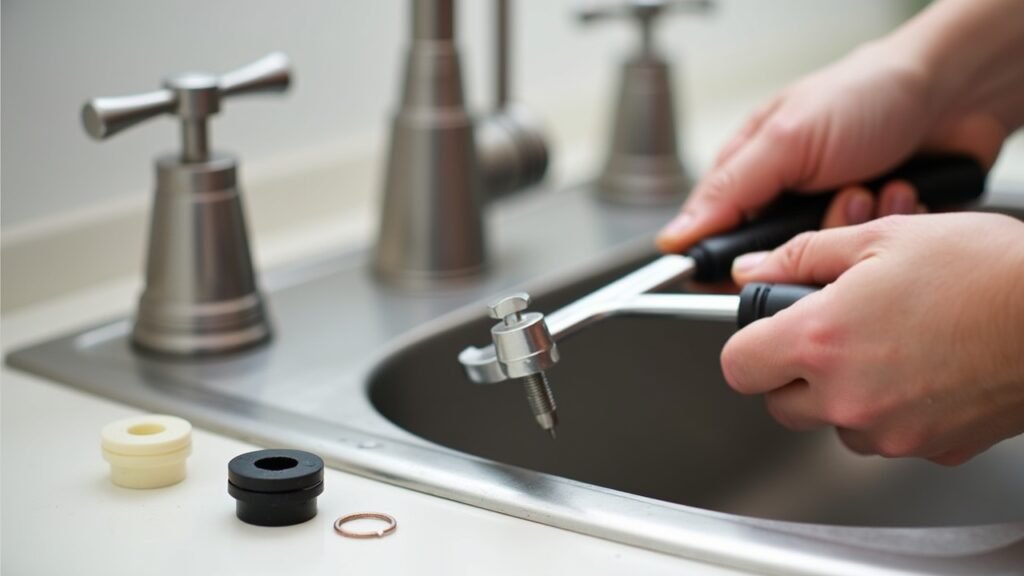
Now you can access the internal components. If you’ve got a compression faucet, the washer at the bottom of the stem is probably your problem. Pop it off and take it to the hardware store to find an exact match.
For cartridge faucets, you’ll want to pull out the entire cartridge and replace it. These are usually pretty affordable and solve most leaking issues immediately.
Helpful Video Resources
Sometimes seeing the process makes everything click. I found this detailed faucet repair tutorial super helpful when I was learning. There’s also a great video from This Old House that covers different faucet types if you’re not sure what you’re working with.
Advertisements
Putting It All Back Together
Apply some plumber’s grease to the new parts before reassembling. This helps create a better seal and makes future repairs easier. Trust me on this one.
Reverse the disassembly process, being careful not to overtighten anything. I’ve cracked a handle or two by going too aggressive with the wrench. Just snug everything up nice and secure.
Turn the water supply back on slowly and check for leaks. If everything’s dry, congratulations! You just saved yourself a hundred bucks in plumber fees.
Your Turn to Tackle That Drip

Fixing a leaky faucet really isn’t rocket science, even though it might feel intimidating at first. The key is taking your time and not being afraid to look things up as you go. Everyone starts somewhere!
Remember to always shut off the water before starting and keep track of all those little parts. If something doesn’t feel right during the repair, there’s no shame in calling a professional.
Got more home improvement questions or DIY projects on your mind? Head over to Nook Method for more practical guides and tips to help you become the handiest person on your block!