Advertisements
Here’s something that blew my mind last year. I was spending nearly $40 a month on cleaning products! Between the glass cleaner, kitchen spray, bathroom stuff, and those fancy multi-surface wipes, my cabinet under the sink looked like a small pharmacy.
Then my daughter developed some skin sensitivity issues, and our pediatrician suggested we look at what chemicals were floating around our house. That’s when I stumbled into the world of DIY all purpose cleaner recipes. And honestly? I’m never going back.
The Basic Recipe That Changed Everything
So let me share the homemade cleaning solution that’s been sitting in a spray bottle on my counter for the past eight months. It’s stupid simple, and I kinda felt dumb for not trying it sooner.
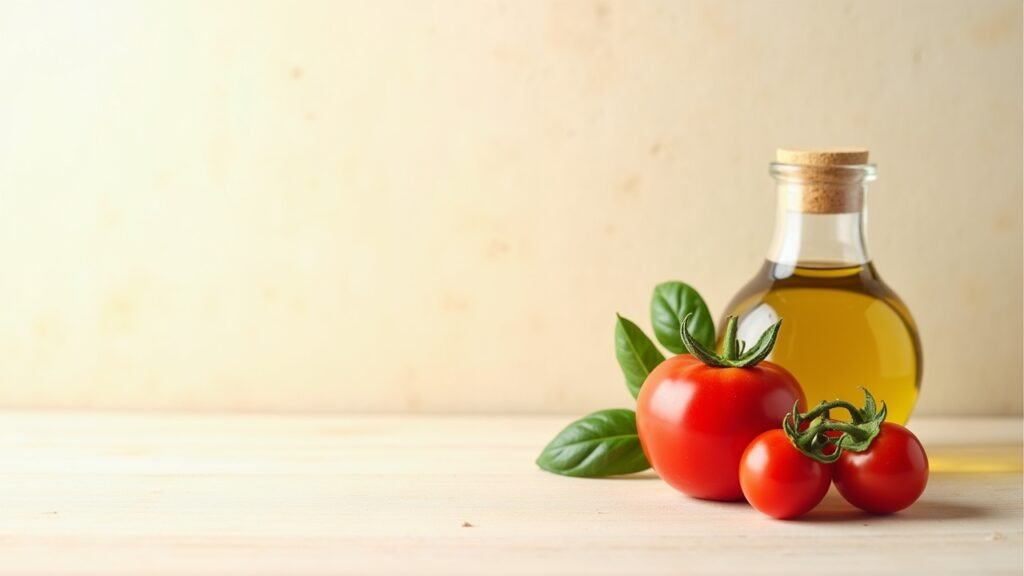
- 1 cup white vinegar
- 1 cup water
- 15-20 drops of essential oil (I use lemon or tea tree)
- 1 tablespoon of dish soap
That’s it. Seriously. You just mix everything in a reusable glass spray bottle, give it a gentle shake, and you’re done. The whole thing costs maybe 50 cents to make.
My First Attempt Was a Disaster
I gotta be honest with you though. My first batch was terrible! I got way too excited and dumped in like half a bottle of essential oils thinking it would smell amazing. My kitchen smelled like a hippie convention exploded in there.
The key is restraint. Less is more with the oils, trust me on this one.
What This Natural Cleaner Actually Works On
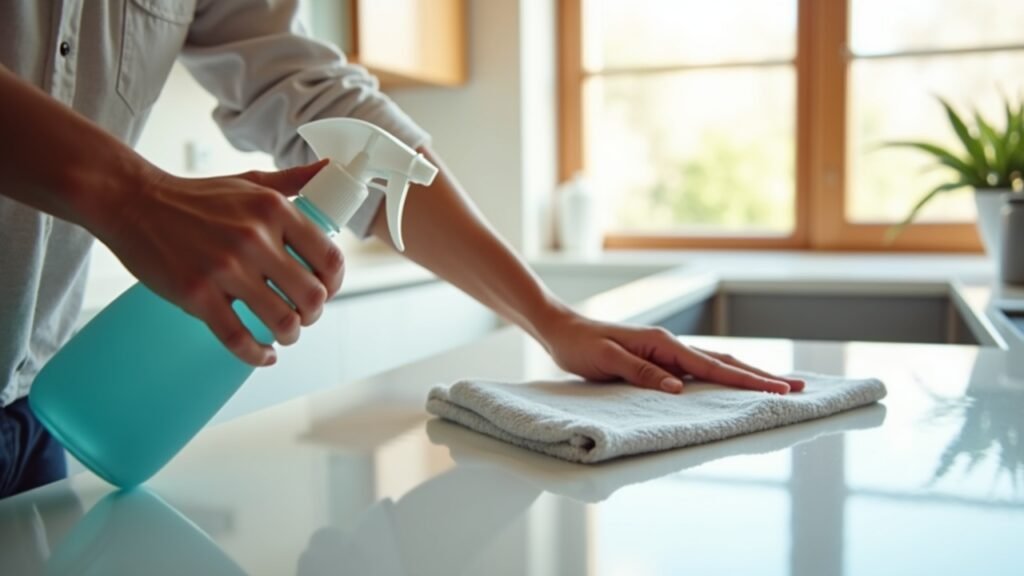
Now here’s where this eco-friendly cleaning spray really shines. I use it on pretty much everything in my house. Countertops, stovetops, appliances, even my bathroom sink gets a spray down every morning.
The vinegar cuts through grease like nobody’s business. Last week I tackled some seriously crusty stuff on my stove hood, and it came off with barely any scrubbing. Was genuinely surprised.
However, and this is important, you shouldn’t use this vinegar-based cleaner on marble, granite, or natural stone surfaces. The acid in the vinegar can etch and damage them over time. I learned this the hard way on my mother-in-law’s fancy countertops. She was not pleased, let me tell you.
Watch This Before You Start
If you’re more of a visual learner like me, there’s some great tutorials out there. I found this helpful video that walks through the process: DIY All Purpose Cleaner Tutorial. It covers some variations I hadn’t even thought of.
Customizing Your Non-Toxic Cleaner
The beautiful thing about making your own green cleaning product is that you can tweak it however you want. Don’t like the vinegar smell? Add more citrus oils. Need something stronger for tough jobs? Bump up the dish soap a bit.
Some folks add baking soda for extra scrubbing power. I’ve tried that and it works great, but you gotta be careful not to clog your spray nozzle. A little goes a long way there.
I’ve also experimented with adding rubbing alcohol for a faster-drying formula. That’s especially nice for glass and mirrors since it doesn’t leave streaks behind.
Advertisements
The Money You’ll Save Is Actually Ridiculous
Remember how I said I was spending $40 a month? Now I spend maybe $5. That’s $420 bucks a year staying in my pocket instead of going to some giant corporation. Plus I’m not throwing away all those plastic bottles anymore.
My wife was skeptical at first. She thought the homemade stuff wouldn’t clean as well. But after a few weeks of watching me wipe down surfaces without any issues, she was converted too.
Your Kitchen Deserves Better
Making the switch to a DIY all purpose cleaner isn’t just about saving money, though that’s definitely a nice perk. It’s about knowing exactly what’s going into the air you breathe and onto the surfaces your family touches every day.
Start with the basic recipe I shared and make it your own. Experiment a little! Just maybe don’t go overboard with the essential oils like I did that first time.
If you’re looking for more practical tips on simplifying your home life, check out other posts on Nook Method. We’ve got tons of ideas for making everyday stuff a little bit easier and a lot more affordable.