Advertisements
How to Replace a Broken Outlet DIY (Without Losing Your Mind)
Did you know that faulty electrical outlets are one of the leading causes of house fires in the U.S., accounting for over 5,300 fires per year according to the Electrical Safety Foundation International? Yeah, that stat stopped me in my tracks too! I remember the first time I noticed a cracked, sparking outlet in my kitchen — I just stared at it like it was going to bite me. But honestly, once I learned how to replace a broken outlet the right way, it became one of the easiest DIY home repairs I’ve ever done.
First Things First: Know When to DIY and When to Call a Pro
Not every outlet situation is a simple fix. If you’re seeing burn marks, smelling something weird like melted plastic, or noticing the wall around the outlet feels warm — stop right there. Those are signs of deeper wiring problems that need a licensed electrician, no question about it.
But if you’ve got a cracked outlet cover, a loose plug that won’t stay in, or a dead outlet that just stopped working one day, that’s totally in DIY territory. Trust me, I’ve been there. My living room outlet gave up the ghost right before the Super Bowl one year — terrible timing — and I had it swapped out in under 30 minutes.
Tools and Materials You’ll Need
Before you even touch that outlet, gather your supplies. Running back and forth to the hardware store mid-project is the worst, and I’ve done it more times than I’d like to admit.
- Flathead and Phillips screwdrivers
- Voltage tester (non-contact type is easiest — here’s a good one to check out)
- Needle-nose pliers
- New electrical outlet (15-amp or 20-amp — match what you have)
- Electrical tape
- Wire stripper (just in case)
Seriously, the voltage tester is non-negotiable. That little tool has saved me from a nasty shock more than once.
Step-by-Step: How to Replace a Broken Outlet
Step 1 — Turn Off the Power
Head to your circuit breaker and flip the switch for the room where the outlet is located. Then double-check with your voltage tester at the outlet itself. Don’t skip this — ever. I can’t stress that enough.
Step 2 — Remove the Old Outlet
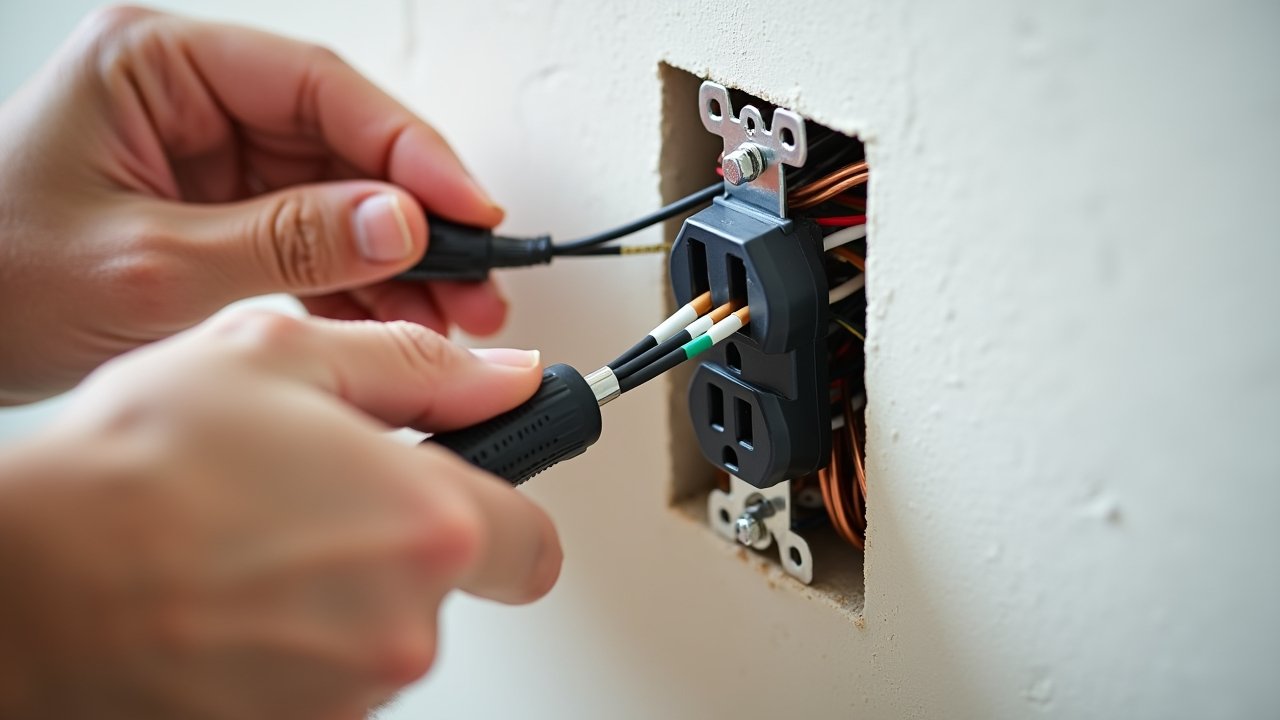
Unscrew the cover plate, then unscrew the outlet from the electrical box. Pull it out gently — there’s usually about 6 inches of wire to work with. Take a photo of how the wires are connected before you disconnect anything. Future you will be very grateful for that little tip.
Step 3 — Disconnect the Wires
You’ll typically see three wires: black (hot), white (neutral), and green or bare copper (ground). Loosen the screws and remove each wire carefully. According to Family Handyman, most standard outlets use a simple screw terminal system that makes this part pretty straightforward.
Step 4 — Connect the New Outlet
Attach the wires to your new outlet the same way they were on the old one. Black goes to the brass screw, white to the silver screw, and the ground wire to the green screw. Tighten everything snugly — loose connections are what cause problems down the road.
Step 5 — Reassemble and Test
Carefully push the outlet back into the box, screw it in, and replace the cover plate. Turn the breaker back on and test with a lamp or your voltage tester. When that little light flickers on for the first time — man, that feeling never gets old!
A Few Extra Tips From Someone Who Learned the Hard Way
- Always buy a replacement outlet rated for the same amperage as the original
- If your home was built before 1980, consider upgrading to a GFCI outlet for bathrooms and kitchens
- Label your breakers properly — you’ll thank yourself later
- Never work on wiring alone if you’re unsure. When in doubt, call a pro
You’ve Got This — Now Keep Learning
Replacing a broken outlet is one of those small wins that makes you feel like a total homeowner rockstar. It saves money, it’s safer than leaving a damaged outlet in place, and once you’ve done it once, you’ll wonder why you ever waited. Just remember — safety first, always double-check that power is off, and match your new outlet to your existing setup.
Every home is a little different, so feel free to adjust these steps based on what you find behind that outlet cover. And hey, if this gave you the confidence boost you needed, there’s a whole lot more where this came from. Head over to Nook Method for more practical, no-nonsense home improvement guides written for real people — not just weekend warriors with fancy tool collections.
Advertisements