Advertisements
How to Reattach a Loose Cabinet Hinge (Without Losing Your Mind)
Did you know that loose cabinet hinges are one of the most common household repairs — and yet most people just… ignore them for months? Yeah, I was one of those people. I’d open my kitchen cabinet, hear that sad little creak, watch the door droop like it gave up on life, and just close it again. Real mature, I know.
But here’s the thing — a loose cabinet hinge is actually one of the easiest fixes you can do yourself. No fancy tools, no calling a handyman, no crying into your coffee. Once I finally sat down and figured it out, I felt like a total DIY genius. So let me walk you through exactly how to reattach a loose cabinet hinge, step by step.
Why Cabinet Hinges Come Loose in the First Place
Before we fix anything, it helps to understand why this happens. Most of the time, the screws holding the hinge to the cabinet frame or door have stripped the wood around them. The hole gets bigger over time from repeated use, and suddenly the screw just spins without catching anything. Super frustrating.
Sometimes it’s also just loose screws that were never tightened properly to begin with. Either way, the fix depends on which situation you’re dealing with — so take a close look before grabbing your screwdriver.
What You’ll Need
- A Phillips head screwdriver (or a drill with a screwdriver bit)
- Wooden toothpicks or wooden matchsticks
- Wood glue
- Longer replacement screws (optional but helpful)
- A utility knife or scissors
- A little bit of patience
You probably already have most of this stuff lying around. If not, a quick trip to the hardware store will run you maybe five bucks total. Totally worth it.
Step-by-Step: How to Reattach a Loose Cabinet Hinge
Step 1 — Tighten the Screws First
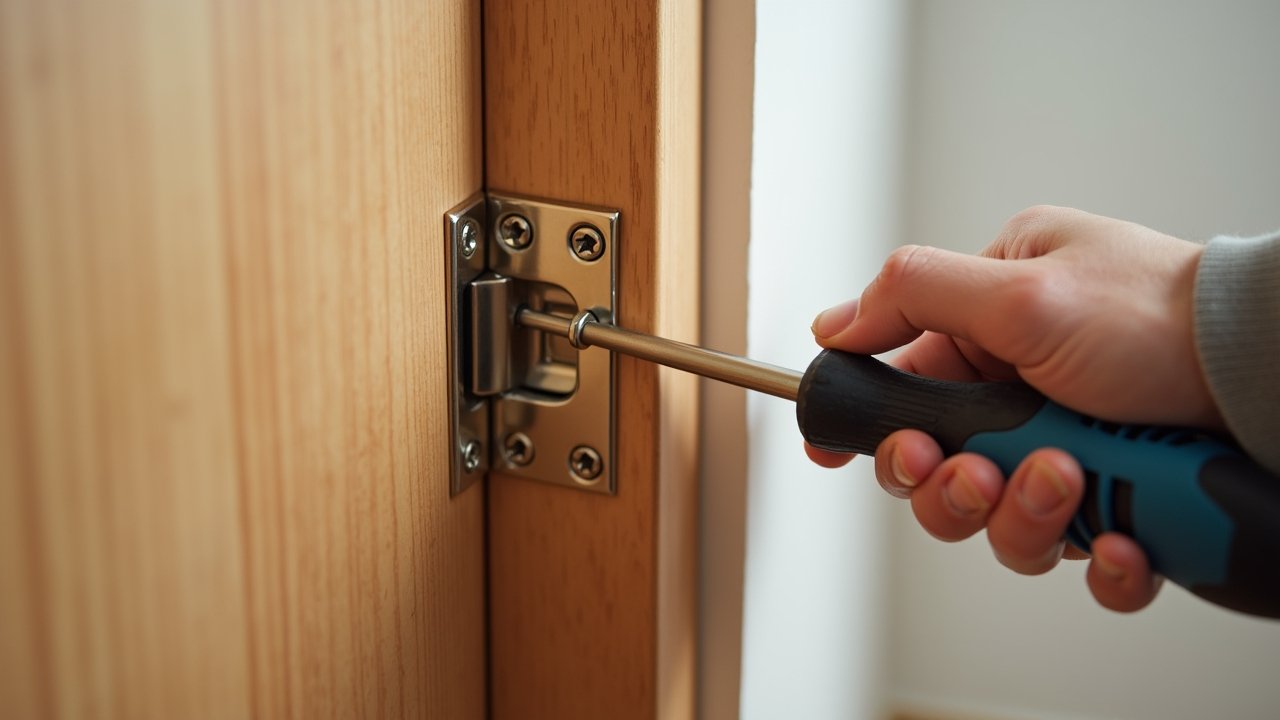
Start simple. Sometimes all you need is a firm hand and a screwdriver. Try tightening each screw on the hinge — both on the cabinet door and on the cabinet frame. If the screws tighten up and the hinge feels solid again, you’re done! Seriously, don’t overthink it.
Step 2 — Deal With Stripped Screw Holes
If the screw just keeps spinning without tightening, you’ve got a stripped hole. This is where the toothpick trick comes in, and honestly, it’s kind of magical. Remove the screw completely, dip one or two wooden toothpicks in wood glue, and push them into the hole. You can learn more about this classic trick over at Family Handyman — they explain the whole process really well.
Let the glue dry for at least an hour. Once it’s set, snap off the excess toothpick flush with the surface using your utility knife or just break it off by hand. Then drive the screw back in. The wood fibers from the toothpick give the screw something real to grip onto again. Works like a charm every single time.
Step 3 — Try Longer Screws if Needed
Still not holding? Try using slightly longer or wider screws to get a better bite into fresh wood behind the damaged area. Just make sure the screw head still fits properly within the hinge plate. This small swap has saved me more than one cabinet door, no joke.
Step 4 — Realign the Hinge if the Door Looks Crooked
Sometimes after all that, the cabinet door still looks a little off — like it’s not sitting flush or it’s rubbing against the frame. Many modern cabinet hinges are actually adjustable, with small screws that let you shift the door up, down, left, or right. A tiny turn can make a huge difference. Give those adjustment screws a try before assuming something’s really wrong.
Common Mistakes to Avoid
- Don’t overtighten screws — you’ll just strip the hole all over again.
- Don’t skip the drying time on the wood glue. I made that mistake once and had to redo the whole thing.
- Don’t use screws that are too long — they can poke through the other side of the cabinet door. Ask me how I found that out.
One Last Thing Before You Close That Cabinet
Fixing a loose cabinet hinge is genuinely one of those small wins that makes your whole home feel more put-together. It takes maybe 20 minutes, costs next to nothing, and saves you from that daily annoyance of a droopy, squeaky door. Plus, staying on top of small repairs like this can actually prevent bigger damage down the road — like a hinge tearing out of the wood entirely. Not fun, trust me.
Take your time, use the right materials, and don’t force anything. Home repairs go a lot smoother when you’re not in a rush. And if this got you in a fix-it mood, there’s plenty more where this came from — head over to the Nook Method blog for more practical home tips that actually make sense for real people.
Advertisements